Brewing a Crisp Hard Seltzer at Home Without Clarifiers
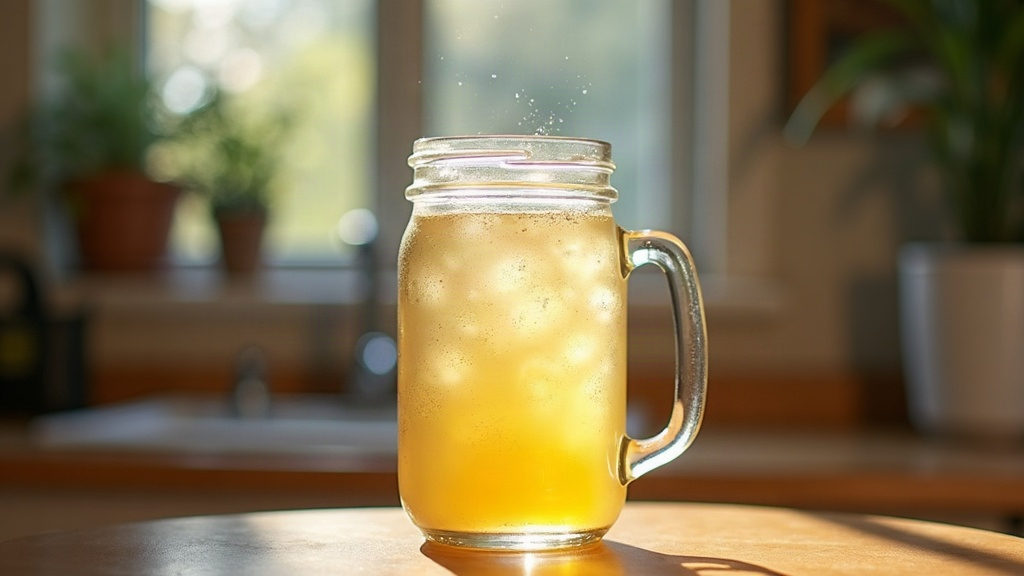
Brewing a crisp, clear hard seltzer at home doesn’t require commercial fining agents, silica gel, or a plate filter. The real secret? Picking the right yeast, keeping your fermentation temperature steady, and giving the batch enough time to settle on its own. With a bit of patience and a few low-tech tricks, you can turn out a seltzer that holds its own against store-bought brands, both in clarity and in that snappy, crisp finish.
Why Clarity Is the Hardest Part of Hard Seltzer
Beer has malt and hops to hide behind. Seltzer doesn’t. There’s nothing to mask haze, so any cloudiness shows up instantly in the glass, no excuses. Most commercial producers lean on cross-flow filtration or fining agents like gelatin, isinglass, or Polyclar to strip out yeast and proteins. At home, you can get similar results with:
- Time (the most powerful, zero-cost clarifier you own)
- Cold crashing in a regular refrigerator
- Proper yeast selection
- Smarter ingredient choices that throw less sediment in the first place
Step 1: Choose a Clean-Fermenting Yeast
The strain you pick matters more than most people assume. Skip anything known for leaving persistent haze behind (hefeweizen yeasts, for example). Instead, reach for:
- Champagne yeast (EC-1118): ferments dry, flocculates reasonably well, shrugs off high alcohol
- Kveik strains: fast, clean fermenters, often dropping bright within days
- Wine yeast (71B or D47): solid flocculation, neutral flavor
These strains clump together naturally and drop out of suspension once fermentation wraps up, which means you barely need fining agents at all.
Step 2: Keep Your Sugar Source Simple
What you ferment matters just as much as what ferments it. For a clean base:
- Stick with plain cane sugar or dextrose, not table sugar loaded with additives
- Skip honey or maple syrup unless you’re fine with a little haze and extra flavor complexity
- A splash of 100% white grape juice adds mouthfeel without clouding the final product
A simple starting recipe: 2 lbs dextrose, 1 gallon water, champagne yeast, yeast nutrient, and a pinch of acid blend to balance things out.
Step 3: Pitch Yeast Nutrient Generously
A sugar wash is basically a yeast’s worst nightmare, nutritionally speaking. Starve the yeast and it gets stressed, throws off-flavors, and leaves extra proteins floating around. Add a quality nutrient (Fermaid O or DAP work well) in staggered doses over the first 48 hours. This one step alone can noticeably improve clarity just by keeping the yeast from freaking out.
Step 4: Ferment at a Stable, Cool Temperature
Temperature swings push yeast to produce compounds that cloud the final product. Keep things steady:
- 60–68°F (16–20°C) for champagne or wine yeast
- 70–75°F (21–24°C) for most kveik strains
A stable temperature doesn’t just help clarity, it also gives you a cleaner, crisper flavor, which is really the whole point of a seltzer anyway.
Step 5: Cold Crash Instead of Using Clarifiers
Once fermentation’s done (confirm with a hydrometer showing stable gravity for 3 days straight), move the fermenter to the coldest spot in your fridge for 5–7 days. Cold temps make yeast and leftover proteins clump up and sink. No clarifier required.
A few tips that make a real difference:
- Use a tall, narrow fermenter (a glass carboy, say) instead of a wide bucket. The longer “settling path” helps sediment compact better
- Don’t move the fermenter during the cold crash, you’ll just stir up what already settled
- Rack (siphon) the seltzer off the sediment afterward, and don’t be greedy, leave the last inch or two behind
Step 6: Fine-Tune Clarity With Patience, Not Chemicals
Still a touch hazy after cold crashing? Just give it more time in a sealed, cold container. Natural flocculation keeps working slowly over the following weeks. A lot of home brewers find that a batch left for 2 to 3 weeks post-fermentation turns nearly crystal clear, no additives needed.
Step 7: Carbonate and Flavor
Once it’s clear, carbonate with a soda stream, a counter-pressure bottle filler, or old-fashioned priming sugar in bottles. Add your flavoring (citrus zest, fruit extracts, a few drops of food-grade essential oil) right before packaging. That keeps the base clean and avoids introducing new particles that could cloud things up again.
Common Mistakes to Avoid
- Rushing the cold crash: a day or two won’t cut it, give it the full week
- Disturbing sediment while racking: siphon slow and steady, no sudden moves
- Using high-haze yeast strains: flocculent strains are non-negotiable if clarity’s the goal
- Skipping nutrients: stressed yeast is, hands down, the number one cause of lingering haze
Conclusion
No filtration rig, no bottled clarifiers, just the right yeast, proper feeding, a steady fermentation temperature, and enough patience to let the cold crash do its job. Do that and you’ll land professional-level clarity with nothing more than basic homebrewing gear. What you end up with is a bright, bubbly, genuinely refreshing hard seltzer, made entirely your way.