One-Gallon Cyser: A Beginner's Guide to Apple and Honey Mead
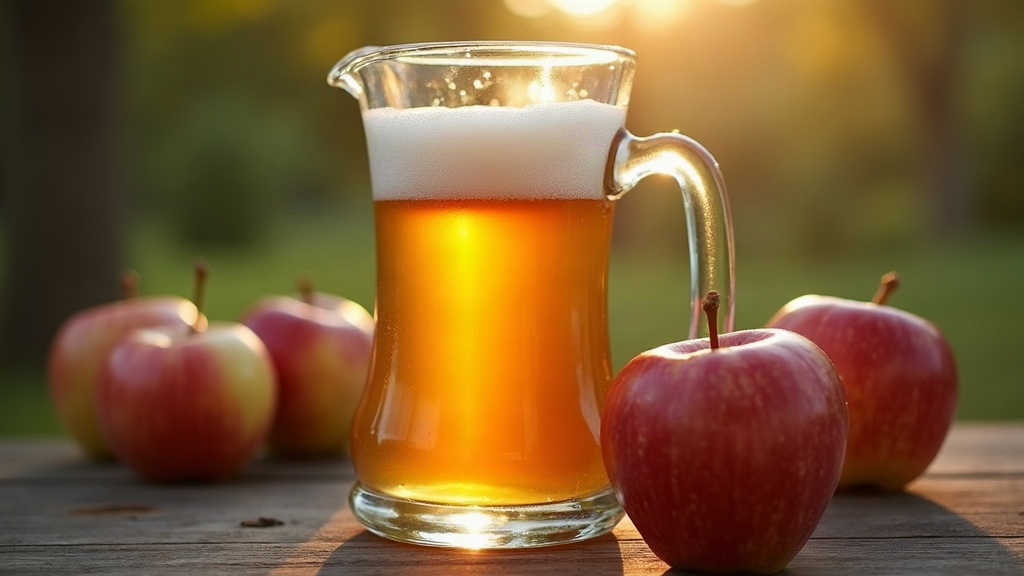
If you’re into the crisp bite of a good hard cider and you also love the floral, boozy depth of mead, a one-gallon cyser might be the project that finally gets you into homebrewing. Cyser is basically the meeting point of the two: apple juice and honey, fermented together instead of the usual water-and-honey mead base. Below is a beginner-friendly, step-by-step recipe for brewing your first one-gallon batch right on your kitchen counter, from picking the juice to capping your bottles.
What Exactly is a Cyser?
Mead folks have a name for every fruit variation, and any mead made with fruit falls under the umbrella term melomel. A cyser is just the apple branch of that family, made with apples or apple cider instead of berries, cherries, or whatever else. People have been making this stuff for centuries, originally as a way to stretch out the fall apple harvest into something that would last through winter. What you get is a nice push-pull of flavors: honey brings the alcohol up and gives the mead a rounder, almost silky texture, while the malic acid in the apples cuts through with a tart snap that keeps every sip feeling light instead of syrupy.
Why Start with a One-Gallon Batch?
There’s a reason so many mead makers start small, and it’s not just caution:
- Low Initial Investment: No need for a fleet of five-gallon fermenting buckets. A single glass jug, the kind apple juice already comes in from the grocery store, is all you need.
- Manageable Space: A one-gallon jug fits in a closet corner, under a stairwell, wherever you’ve got a dark, quiet spot. No dedicated brewing room required.
- Room for Experimentation: Mess up a one-gallon batch and you’ve lost maybe $10 in honey. Mess up a five-gallon batch and that’s a much rougher Tuesday.
Essential Equipment for Your First Cyser
Grab this gear before you even think about buying ingredients:
- One-Gallon Glass Carboy (Jug): This is where the magic (fermentation) happens.
- Bung and Airlock: Lets CO2 escape while keeping oxygen and stray wild yeast out. Cheap, small, and non-negotiable.
- No-Rinse Sanitizer: Star San or something similar. Honestly, sanitation is probably 90% of whether your first batch turns out drinkable or not.
- Auto-Siphon and Tubing: Makes racking (transferring) your mead possible without splashing it around and oxidizing it.
- Hydrometer (Optional but Recommended): Measures sugar content so you can estimate your final ABV. Not mandatory, but satisfying to use.
The Best Ingredients for Apple and Honey Mead
Good cyser starts with good ingredients, full stop. Here’s your shopping list for one gallon:
- 1 Gallon of Apple Cider or Juice: Go for unfiltered, cold-pressed cider if you can find it. One warning worth repeating: check the label for potassium sorbate or sodium benzoate. Those preservatives are designed to stop fermentation, which means they’ll murder your yeast before it even gets going. Ascorbic acid (plain Vitamin C) is totally fine, no issue there.
- 2 to 2.5 lbs of Honey: Wildflower or clover honey are both solid beginner picks. They’re mild enough to stay in the background and let the apple flavor do most of the talking.
- Yeast: Lalvin D47 or Red Star Premier Blanc. Both are wine yeasts that chew through fruit and honey sugars reliably, which matters a lot when you’re new to this.
- Yeast Nutrient: Honey is basically empty of the nitrogen yeast needs to work properly. Skip the nutrient (something like Fermaid O) and you risk a sluggish fermentation or funky off-flavors down the line.
- Pectic Enzyme (Optional): A half teaspoon breaks down pectin from the apples, so you end up with a clear cyser instead of a hazy one. Not required, but it’s a small step for a nicer-looking glass.
Step-by-Step One-Gallon Cyser Recipe
Phase 1: Preparation and Sanitization
Mix your no-rinse sanitizer with water per the label instructions, then sanitize everything: the jug, the airlock, the stopper, anything at all that’s going to touch your must or your finished mead.
Phase 2: Mixing the Must
- Pour out 3 to 4 cups of apple juice from the jug and set it aside for later. You need that room for the honey.
- Pour your 2 to 2.5 lbs of honey into the jug with the remaining juice.
- Cap it and shake, really shake, for 3 to 5 minutes straight. This aerates the mixture, dissolving the honey and pumping in oxygen the yeast will need to reproduce. Once mixed, this unfermented liquid officially becomes your “must.”
- Stir in 1/2 teaspoon of yeast nutrient and 1/2 teaspoon of pectic enzyme.
Phase 3: Pitching the Yeast and Fermentation
- Sprinkle half a packet of your chosen dry yeast right into the jug.
- Top it off with the reserved apple juice, leaving roughly two inches of headspace so it doesn’t bubble over and make a mess of your counter.
- Fill the airlock to its line with sanitizer or water, fit it into the bung, and seat the bung firmly in the jug’s mouth.
- Tuck the jug away somewhere cool and dark, ideally 65°F to 70°F. Give it a day or two and you should start seeing regular bubbling through the airlock, a good sign that fermentation has kicked off.
Phase 4: Racking and Bottling
Most one-gallon cysers finish fermenting somewhere between 2 and 4 weeks. You’ll know it’s done when the bubbling stops for good, the liquid starts to look noticeably clearer, and a layer of sediment (the “lees”) settles at the bottom of the jug.
Grab your sanitized auto-siphon and rack the clear liquid into a fresh, sanitized jug, leaving that sediment behind. Let it sit for another month so it can clear up fully, then siphon it one last time into your sanitized bottles.
Final Thoughts
A one-gallon cyser is about as friendly an entry point into mead making as you’ll find, cheap to try, quick to clear, and forgiving if something goes slightly sideways. You’re combining the familiar tang of apple cider with the warmth and body of honey, and the result is something that drinks well young but genuinely improves with a few extra months in the bottle. So gather your ingredients, sanitize everything twice if you have to, and get that first gallon fermenting.