Lacto-Fermenting Broccoli Stems with Garlic Chives Kraut
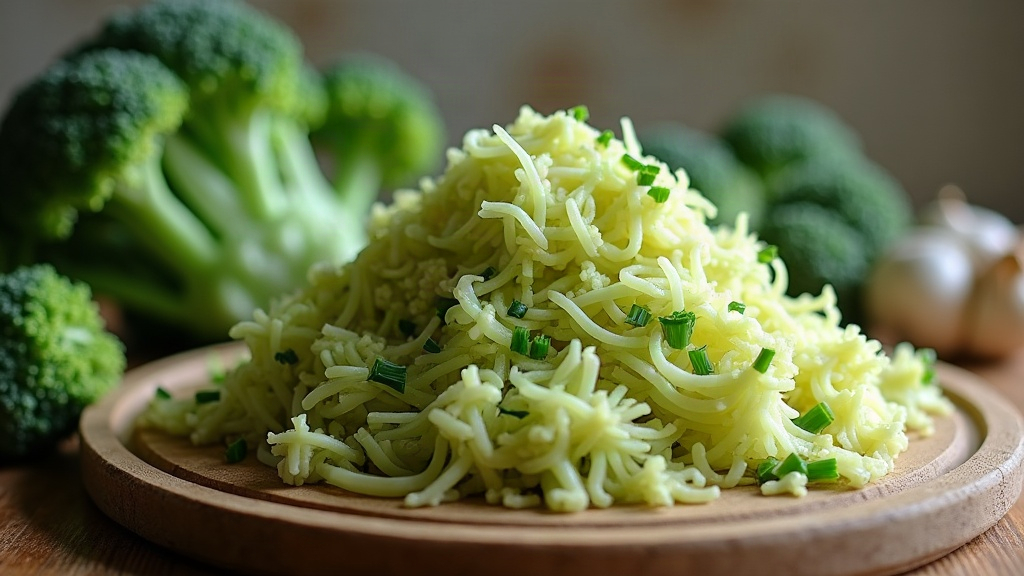
Most home cooks chuck broccoli stems straight into the compost bin without a second thought. Big mistake, honestly. Those fibrous stalks are actually ideal for lacto-fermentation. This recipe turns peeled broccoli stems and garlic chives into a crunchy, tangy, probiotic-rich kraut that holds its own against classic cabbage sauerkraut, while rescuing a vegetable part that usually ends up in the trash.
Why Broccoli Stems Are Perfect for Fermenting
Broccoli stems tend to be denser and starchier than the florets, which gives them a natural crunch that’s just made for a long ferment. Florets, on the other hand, go mushy or sulfurous pretty fast once fermented. Stems? They hold their bite for weeks. A few reasons they work so well:
- High in fiber, a solid food source for lactic acid bacteria
- Mild in flavor, so they soak up garlic, chive, and spice notes easily
- Sturdy, staying crisp even after a long soak in brine
- Usually tossed out, which makes this a genuine zero-waste project
If you’ve ever bought a bunch of broccoli, used the crowns for a stir-fry, and quietly binned the rest, this recipe is the one that finally puts the whole vegetable to work.
Ingredients You’ll Need
- 1 lb (450g) broccoli stems, peeled and trimmed
- 1/2 cup garlic chives, roughly chopped (regular chives are fine too, but garlic chives bring a nice extra punch)
- 1.5-2% sea salt by weight (unrefined, no iodine or anti-caking additives)
- Optional: 1 tsp caraway seeds, red pepper flakes, or grated ginger if you want more depth
That salt percentage is measured against the total weight of the vegetables plus any added water. Get this right and it controls how fast fermentation happens and keeps spoilage at bay.
Step-by-Step Fermentation Process
1. Prep the Stems
Run a vegetable peeler over the tough outer layer of each stem. This strips away the woody, bitter skin and leaves you with the tender, pale green core underneath. Slice into thin matchsticks, or shred on a mandoline if you have one, since more surface area means faster fermentation and a crunchier end result.
2. Salt and Massage
Toss the shredded stems and chopped garlic chives into a large bowl. Weigh everything, then work out 1.5-2% of that total weight in salt. Sprinkle it over the vegetables and massage firmly for 5-8 minutes, until the mixture starts releasing its own liquid. Don’t skip this part: that brine is what creates the oxygen-free environment the lactic acid bacteria need to do their job.
3. Pack the Jar
Pack the salted mixture tightly into a clean glass jar, pressing down hard with your fist or a tamper to force out any air pockets. Within a few minutes the brine should rise above the vegetables on its own. If it doesn’t quite cover everything, mix up a small batch of 2% saltwater and top the jar off.
4. Weigh It Down
Keep everything submerged using a fermentation weight, a small water-filled jar, or even a cabbage leaf tucked over the top. Air exposure is basically an invitation for mold. Submerged vegetables, on the other hand, ferment safely and predictably.
5. Ferment at Room Temperature
Cover loosely with a cloth, or use an airlock lid, and let the jar sit at 65-75°F (18-24°C) for 5 to 10 days. Start tasting daily after day 3. You’re after a pleasant sourness with a slight fizz on the tongue. A warm kitchen speeds things up; a cool one stretches it out, so trust your taste buds over the calendar.
How to Know It’s Ready
- Color: the stems shift to a deeper, olive-green shade
- Smell: tangy and a little funky, but never rotten or putrid
- Taste: sour, garlicky, with that satisfying crunch still intact
- Bubbles: small bubbles rise up when you press the mixture down
Once it tastes right to you (and that’s really the only test that matters), move the jar to the fridge. Cold temperatures slow fermentation way down and keep the crunch intact for 2 to 3 months.
Troubleshooting Common Issues
- White film on top (kahm yeast): harmless, just skim it off. Next time, make sure the vegetables stay fully submerged.
- Mold (fuzzy, colored patches): toss the whole batch. This usually means air got in or there wasn’t enough salt.
- Too salty: give it a quick rinse before eating, or dial back the salt percentage on your next batch.
- Not sour enough: give it a few more days. Cooler kitchens slow everything down.
Ways to Use It
- Piled on tacos or grain bowls for crunch and acidity
- Swapped in for relish in potato salad or egg salad
- Served next to grilled meats to cut through the richness
- Stirred into fried rice at the very last second for a probiotic kick
Conclusion
Lacto-fermenting broccoli stems with garlic chives is a cheap, dead-simple way to cut down on kitchen waste and end up with something genuinely delicious. Salt, time, a bit of patience, that’s the whole formula. Do it once and that overlooked vegetable scrap becomes a crunchy, gut-friendly condiment you’ll want a permanent spot for in the fridge.