Upcycling Heirloom Tomato Scraps into Savory Kitchen Vinegar
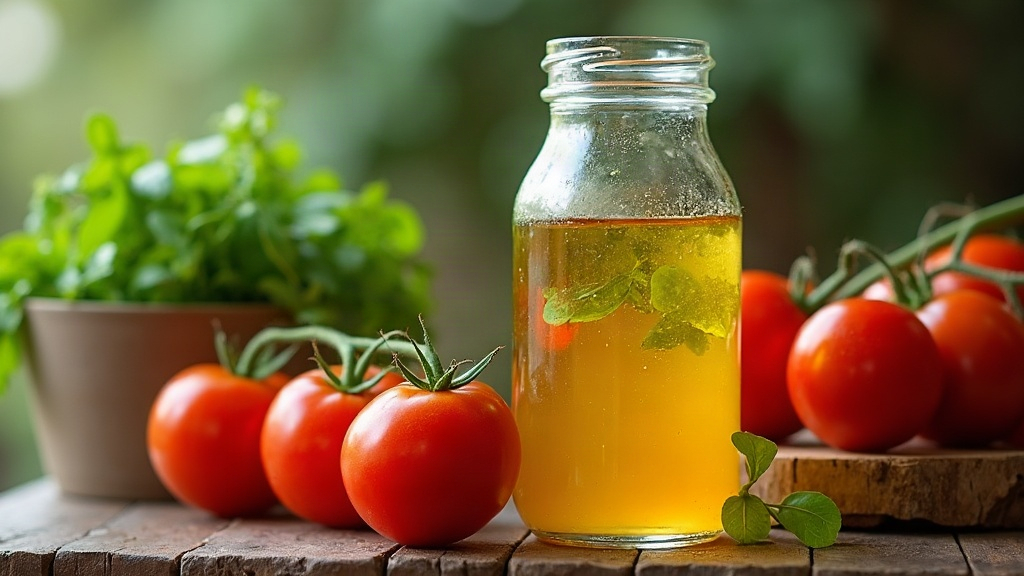
Late summer brings a flood of heirloom tomatoes, and with it, a pile of cores, skins, and watery seeds most cooks scrape straight into the compost bin without a second thought. There’s a better option. Ferment those scraps and you get a savory, herb-laced kitchen vinegar, the kind of deeply flavorful, acidic condiment that captures everything good about a ripe tomato (the sweetness, the umami) without wasting a single bite. Here’s why it works, how to do it without poisoning yourself, and what to actually do with the stuff once it’s done.
Why Tomato Scraps Make Great Vinegar
A heirloom tomato at peak ripeness is loaded with natural sugars, glutamates, and wild yeasts clinging to its skin. That’s basically a vinegar starter kit already assembled for you:
- Sugars feed yeast, which converts them into alcohol.
- Alcohol then feeds acetic acid bacteria (AAB), which turn it into vinegar.
- Glutamates in the flesh give the finished vinegar a savory, almost soy-sauce-like depth, the kind that plays really well with fresh herbs.
Here’s the funny part: the scraps you’d normally toss actually outperform whole tomatoes in some respects. Cores and skins hold less water, so flavor stays concentrated, and the leftover juice and seed gel kickstart fermentation almost immediately.
What Scraps to Save
Toss scraps into a freezer bag as you cook until you’ve got 3-4 cups. That can include:
- Tomato cores and stem ends
- Skins from peeling (blanched or raw)
- Watery pulp and seeds strained off when making sauce
- Overripe or split tomatoes that aren’t fit for the table anymore
Skip anything moldy or visibly rotten. Fermentation doesn’t fix a problem, it just makes it louder.
The Herbaceous Angle
The part that makes this vinegar interesting is the herbs. Layer in something that already pairs naturally with tomato:
- Basil (classic, slightly peppery-sweet)
- Oregano or marjoram (earthy, Mediterranean)
- Thyme (woodsy, floral)
- A few black peppercorns or a garlic clove for backbone
Add the herbs near the end of fermentation. Their volatile oils break down and turn bitter if they sit through the whole acetic stage.
Step-by-Step Method
1. Build the Base (Day 1)
In a clean quart jar, combine:
- 3 cups tomato scraps
- 1 tablespoon raw sugar (helps if your scraps are on the lean, less-sweet side)
- 2 cups unchlorinated water
Cover with a breathable cloth or coffee filter, rubber band around the rim. Never a sealed lid. Gases need somewhere to go, and a tight lid turns your jar into a small bomb.
2. Primary Fermentation (Days 2-7)
Keep it at room temperature, 65-75°F, and stir once a day with a clean utensil. Expect bubbling and a yeasty, slightly boozy smell, that’s exactly what should be happening. By day 5 to 7, the liquid should smell faintly alcoholic, like a weak homebrew.
3. Strain and Convert to Vinegar (Week 2-4)
Strain the solids through cheesecloth, pressing to get every drop of liquid out. Pour the liquid back into the jar, re-cover with cloth, and leave it alone for another 2 to 4 weeks. A thin, cloudy film may form on top, the start of a “mother.” That’s a good sign, not mold.
Taste it weekly. Once it’s sharply sour with no sweetness left, it’s done.
4. Add Herbs and Bottle
Once the acidity’s where you want it, stir in a handful of fresh basil or oregano and let it steep for 3 to 5 days. Strain once more, bottle in sterilized glass, and store somewhere cool and dark.
How to Tell It’s Safe
Good signs: a tangy, sharp smell, a cloudy haze or jelly-like mother, slow gentle bubbling early in the process. Bad signs: pink or orange fuzz, a rotten or putrid smell, slimy texture. If you spot any of that, dump it and start over with fresh scraps and cleaner gear.
How to Use Tomato Herb Vinegar
- Whisk into a vinaigrette with olive oil and a touch of honey
- Deglaze the pan after searing chicken or mushrooms
- Splash over roasted vegetables right before serving
- Mix into a quick shrub with sparkling water for a savory, non-alcoholic drink
- Swap it in for red wine vinegar in a Mediterranean-style salad
Turning heirloom tomato scraps into something this flavorful costs next to nothing and takes maybe three weeks of occasional attention. In exchange, you get a condiment you genuinely can’t buy at a store. Next time you’re about to scrape those cores and skins into the compost, stop. Let wild yeast and a little patience turn them into something worth keeping on the shelf all year.