Lacto-Fermenting Wild Garlic Bulbs: A 4% Brine Spring Condiment
Why Bother Fermenting Wild Garlic Bulbs?
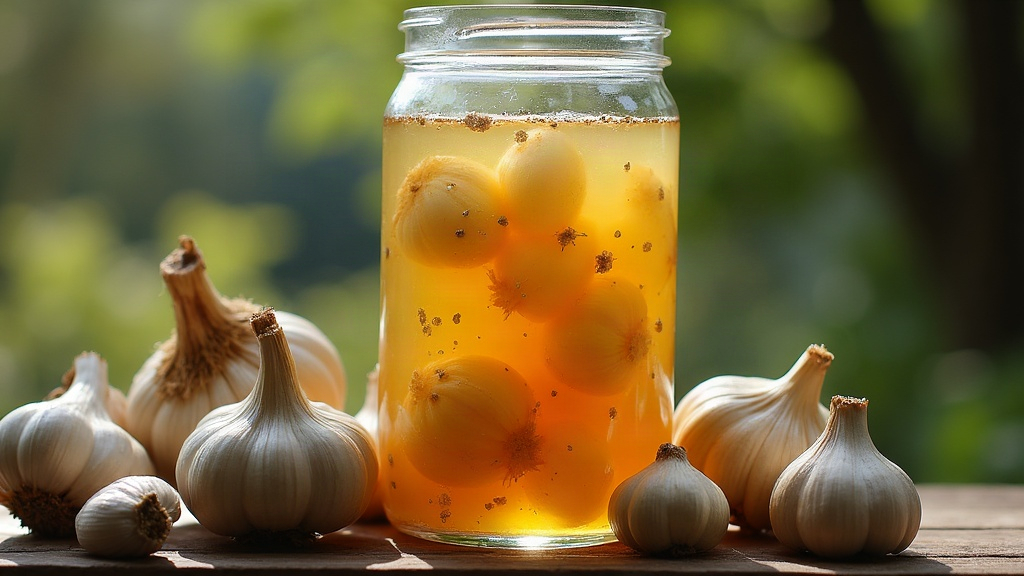
If you’ve ever foraged wild garlic, you probably focused on the leaves and tossed the bulbs aside, or didn’t even bother digging them up. That’s a mistake. Lacto-fermenting those small, fibrous bulbs in a 4% brine turns them into something genuinely worth having in your fridge: a tangy, pungent condiment that holds for most of the year and pairs shockingly well with roasted meats, a cheese board, or a Tuesday-night grain bowl.
Why Ferment Wild Garlic Bulbs?
Wild garlic (Allium ursinum), also known as ramsons or bear garlic, gets all its fame from the leaves. The bulbs sit underground, ignored, and honestly, raw, they deserve to be ignored. They’re sharp, stringy, and borderline unpleasant on their own. Fermentation flips that script completely:
- It mellows the heat. Wild fermentation breaks down harsh allicin compounds into something rounder and far less aggressive.
- It builds umami and tang. Lactic acid bacteria (LAB) give the bulbs a bright, pickle-like sourness you just can’t get any other way.
- It stretches the harvest. Properly fermented bulbs will keep 6 to 12 months in the fridge, long after the spring foraging window has closed.
- It adds live cultures. Same principle as sauerkraut or kimchi, this is a probiotic-rich ferment, not just a pickle.
Foraging Wild Garlic Bulbs Responsibly
Bulbs are at their plumpest in very early spring, before the plant flowers. Digging them up is a different game than snipping leaves, though, and a few rules matter a lot more here:
- Harvest with restraint. Pulling a bulb kills the plant outright. Only take from large, dense colonies, and cap yourself at 5-10% of any given patch. Leave the rest for next year, and for the bees.
- ID with total certainty. Wild garlic shares habitat with genuinely dangerous lookalikes: lily-of-the-valley, autumn crocus, lords-and-ladies. Crush a leaf first. If it doesn’t smell unmistakably of garlic or onion, walk away. No smell, no harvest. There’s no exception to this rule.
- Pick clean ground. Skip roadsides, field edges near farmland, or anywhere runoff or spraying is likely.
- Rinse like you mean it. These bulbs come out of soil and leaf litter, so give them several rounds of washing before they go anywhere near a jar. A single rinse won’t cut it.
What Is a 4% Brine, and Why It Matters
A 4% brine is simple math: 40 grams of non-iodized salt dissolved into 1 liter (1000g) of water. That ratio isn’t arbitrary, it’s the sweet spot that makes lacto-fermentation work:
- Strong enough to keep spoilage organisms and pathogens from gaining a foothold.
- Gentle enough that Lactobacillus can still thrive and churn out lactic acid.
- Reliable specifically for whole bulbs, which ferment slower than shredded cabbage or sliced vegetables.
Brine recipe:
- 1 liter filtered or dechlorinated water
- 40 g fine sea salt or kosher salt (non-iodized)
Dissolve the salt completely before pouring it over the bulbs. Use a kitchen scale, not a tablespoon measure by eye. Guessing salt ratios is, by far, the number one reason home ferments go wrong.
Step-by-Step Fermentation Process
- Clean the bulbs. Trim the roots, peel off papery outer skin, rinse again, and pat dry.
- Pack the jar. Whole or halved bulbs go into a clean glass jar, filled to about three-quarters capacity.
- Add aromatics, if you like. A few peppercorns, one bay leaf, or a small chili rounds things out without burying the garlic flavor.
- Pour the brine. It needs to fully cover the bulbs, with 2-3 cm of headspace left at the top.
- Weigh everything down. A fermentation weight, a small clean stone, or even a smaller jar nested inside works. The goal is simple: keep every bulb submerged. Anything poking above the brine line is an invitation for mold.
- Seal it loosely. An airlock lid is ideal, but a regular lid “burped” once a day to release built-up CO₂ works fine too.
- Ferment at room temperature, somewhere around 18-21°C (64-70°F), for 2 to 4 weeks. A warmer kitchen speeds things up; a cooler spot slows the process but often rewards you with deeper flavor.
- Start tasting at week 2. The bulbs are done when they taste pleasantly sour, look slightly translucent, and have lost that raw, sharp bite entirely.
Signs of a Healthy Ferment
- Bubbles and a cloudy brine? Completely normal, that’s the LAB doing its job.
- A thin white film on top (kahm yeast) isn’t dangerous, just skim it off.
- Throw it out if you spot pink, orange, or fuzzy black or green mold, or if the smell turns rotten instead of sour and garlicky. When in doubt, trust your nose over your patience.
Storing and Using Your Condiment
Once the flavor is where you want it, move the jar straight to the fridge. Cold slows fermentation way down, which lets the flavor keep developing gently over months instead of racing ahead. From there, put your fermented wild garlic bulbs to work:
- Mince them into compound butter or a quick aioli
- Slice thin over grilled steak, roasted vegetables, or warm flatbread
- Chop into a salad dressing for a sharp, tangy allium kick
- Fold into mashed potatoes or deviled eggs for an unexpected twist
Conclusion
A fleeting spring forage doesn’t have to stay fleeting. With a precise 4% brine, careful harvesting, and a few weeks of patience, wild garlic bulbs turn into a pantry staple that outlasts the season by months. Get the salt ratio right, respect the patch you’re foraging from, and you’ll end up with a jar that tastes like spring every time you open it.