How to Revive Milk Kefir Grains After Months in the Fridge
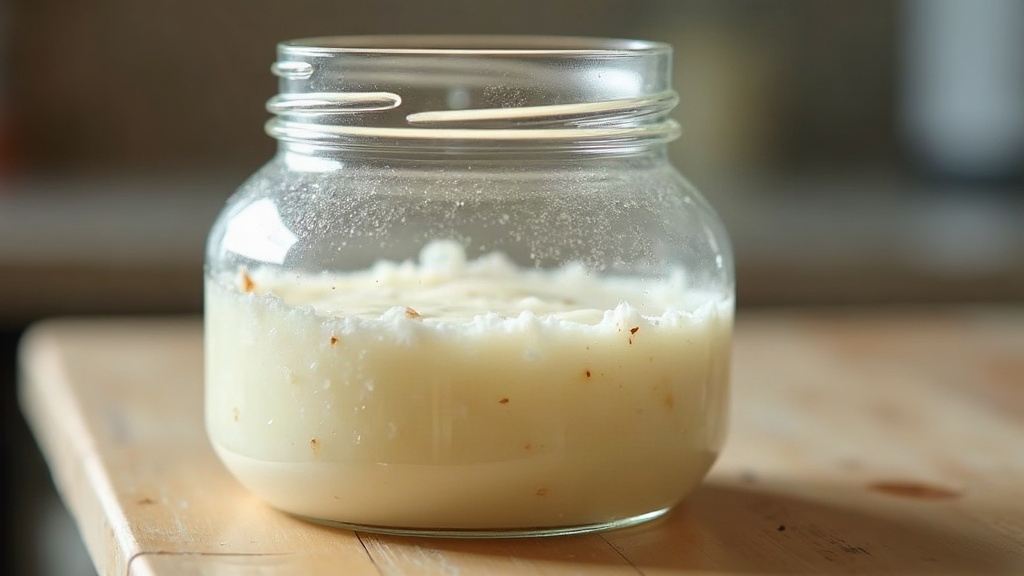
Found a forgotten jar of milk kefir grains buried behind the pickles, sitting in milk that’s gone yellowish and separated into layers? Take a breath. Kefir grains are tough little things, and grains left dormant in the fridge for weeks (sometimes even months) can usually be brought back with a bit of patience and a few fresh feedings. Here’s exactly how to check, clean, and restart neglected grains so you’re back to thick, tangy, bubbly kefir within a few days.
Signs Your Grains Are Still Alive
Before doing anything, take a good look at the jar. Most grains make it through cold storage just fine, since the fridge slows fermentation way down but doesn’t actually stop it.
- Good signs: grains are pale-yellow to white, a bit rubbery to the touch, and the milk has split into curds and whey with a sharp, sour smell. That’s completely normal for stored grains.
- Concerning but often recoverable: grains look small, shrunken, or mushy; the milk is thin and watery, almost like water with a few white flecks in it.
- Bad signs, toss it and start fresh: pink, orange, or black spots (that’s mold), a rotten smell instead of sour or yeasty, or any fuzzy growth on top. That’s contamination, not dormancy, and no amount of rinsing fixes it.
If the smell is just strong and sour, maybe with a yeasty or faint alcohol edge, the grains are almost certainly okay. Don’t panic over a sharp smell alone.
Step-by-Step Revival Process
Step 1: Strain and Rinse
Pour everything through a plastic or fine mesh strainer (skip metal, since it can react with the culture over time and dull it). Gently pick the grains apart from the old, gluey milk. A quick rinse under cool, filtered, non-chlorinated water is optional, but it genuinely helps when grains have sat for months, since it washes off the excess acidity that can shock them back into inactivity instead of waking them up.
Step 2: Do a “Sacrifice” Batch
Put the grains in a clean glass jar with fresh whole milk (or sugar water if you’re working with water kefir grains). Don’t drink this first batch, it’s not for you. Aim for roughly 1 tablespoon of grains to 1 cup of milk. Cover with a breathable cloth or coffee filter, secure it with a rubber band, and let it sit at room temperature for 24 hours.
Step 3: Discard and Repeat
After 24 hours, strain the grains out and pour that milk down the drain. It did its job waking up the bacteria and yeast, but it’s not something you want to drink. Repeat this fresh-milk swap once a day for 2 to 4 cycles. You’ll start noticing the milk thickening a bit faster each round and smelling more balanced, tangy and yogurt-like, instead of harsh or off.
Step 4: Watch for Normal Fermentation Signs
Revived grains will typically:
- Thicken milk within 18-24 hours at room temperature (68-78°F / 20-25°C)
- Give off a pleasant tangy smell with a slight fizz to it
- Show small bubbles or clean separation, the usual markers of active kefir
Once the timing settles into a predictable rhythm, you can start drinking the batches again.
Step 5: Resume Normal Feeding Schedule
Go back to your regular routine, usually 1 tablespoon of grains per 1-2 cups of milk, fermented 12-24 hours at room temperature, then strained and either refrigerated or fed again right away.
Troubleshooting Common Issues
Grains aren’t thickening milk after several cycles: Cut back the milk volume relative to the amount of grains so there’s more food concentrated for them, and double-check the milk isn’t ultra-pasteurized (that stuff is stripped of the nutrients grains actually need to work).
Milk smells like alcohol or yeast: That’s wild yeast getting the upper hand, pretty common after a long dormancy. Keep doing the discard-and-refresh cycle; things usually rebalance within 3 or 4 batches.
Grains have shrunk permanently: Even grains that look tiny often bulk back up with consistent feeding over 1-2 weeks, since kefir grains actually multiply as they ferment. Give it time before writing them off.
How to Avoid This Next Time
- Keep grains in fresh milk in the fridge and feed them at least every 1-2 weeks if you’re not fermenting on a regular schedule.
- Planning a longer break (a trip, say)? Dehydrate the grains or freeze them in milk for a proper dormant state instead of just leaving them in the fridge.
- Stick a label on the jar with the last feeding date. Saves you the surprise (and the guesswork) next time you rediscover it behind the pickles.
Final Thoughts
Neglected milk kefir grains are rarely a lost cause. A simple strain-rinse-refresh routine over a few days is usually all it takes to bring dormant grains back to full fermenting strength, and before long you’re back to creamy, probiotic-rich kefir like nothing ever happened.